The applicator arm, not the printer, decides whether a label lands cleanly on a soft pouch or leaves a dent in it. The print engine only produces the label. How that label meets the product is a mechanical choice with real consequences for fragile goods, and getting it wrong shows up either as damaged product or as money spent on precision the job never needed.
Three ways a label reaches the surface
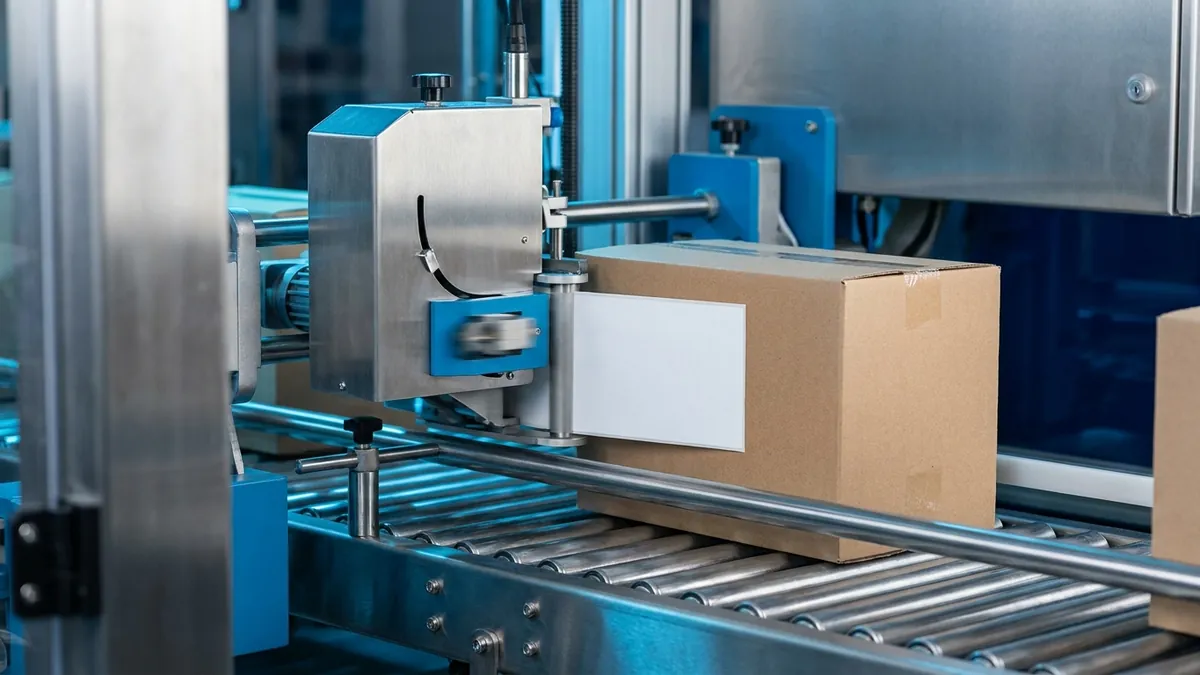
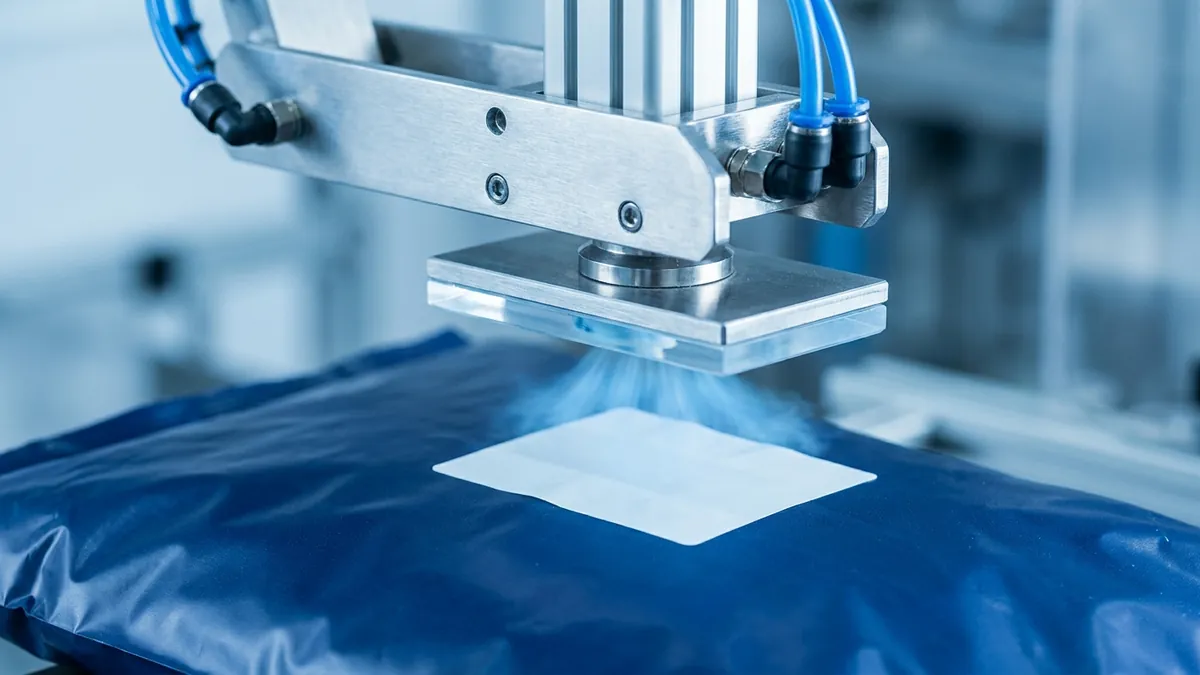
Print-and-apply arms fall into three broad motions. A tamp applicator holds the printed label on a vacuum pad, then extends a pneumatic or electric cylinder to press it onto the product. A wipe or roll-on applicator lays the leading edge onto a moving surface and lets the product roll the rest down as it passes. A non-contact label applicator, usually called a blow applicator, holds the label on a grid pad and fires a burst of compressed air to push it onto the surface without the pad ever touching the product.
Each motion sits at a different point on the trade-off between speed, positional accuracy, and applied force.
Where force becomes the problem
Tamp application gives the tightest placement, commonly around plus or minus 0.5 mm, because the pad physically registers against or very near the surface. That contact is fine on a rigid carton. On a vacuum-sealed food pouch, a thermoformed tray, or fresh produce, the same contact deforms the pack, disturbs the seal, or bruises the contents. Pressure sensing on the pad can soften the stroke and let it self-adapt to product height, but a contact method still touches the product, and some products should not be touched at line speed.
That is the entire reason the blow method exists. By applying at a short standoff distance, it protects anything soft or easily marked. The cost is accuracy: non-contact placement typically holds around plus or minus 2 mm because the label travels a few millimetres through air and is subject to drafts and product-height variation. For a large shipping label that tolerance is invisible. For a small label that must sit inside a printed border, it can be too loose.
Matching the method to the product
A useful way to choose is to start from the product surface and its fragility, not from the label.
- Rigid, flat or gently domed tops (cases, cartons, canisters): tamp, for accuracy and a firm bond.
- Curved or cylindrical surfaces on moving product (bottles, jars): wipe or roll-on, which follows the arc as the product travels and runs a little faster, near 50 per minute.
- Soft, sealed, or delicate packs (pouches, trays, produce): blow, accepting looser placement to avoid deforming the pack.
Speed tracks the same axis. Blow application is usually the quickest of the three because nothing has to extend and retract, reaching around 60 per minute, while tamp cycles sit closer to 35 per minute because the cylinder has to travel out and back on every unit.
Do not overbuy accuracy
Print and apply labeling accuracy is a spec worth reading carefully, because tighter is not automatically better. A plus or minus 0.5 mm tamp arm costs more, cycles slower, and touches the product; if your label has a few millimetres of visual margin and your surface is robust, you are paying for a precision the application does not use. The reverse mistake is worse: specifying a fast non-contact arm for a small label with no placement margin, then fighting rejects for the life of the line.
Because the arm is the variable, a host that accepts more than one applicator type lets you match the method to each product family rather than compromising on one. That flexibility is the point of a modular print-and-apply design, and it is why the applicator selection deserves as much attention during specification as the printer resolution does.
Neither method is better in the abstract; each answers a different question. Decide first how much force the product can take, then how tight the placement must be, and the correct applicator usually names itself.